


What's Really Happening on Site in 2026?
Space-Plug has launched a new national installer survey aimed at giving tradespeople a stronger voice within the kitchen installation industry. The campaign, titled “Your Voice Matters”, is part of the...



Haz clic en reproducir para aprender a utilizar los Datum Pegs con los muebles Evolution.
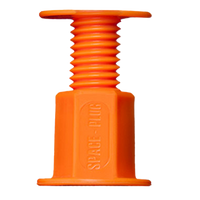
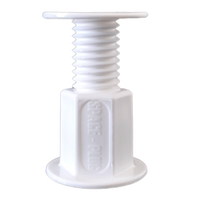
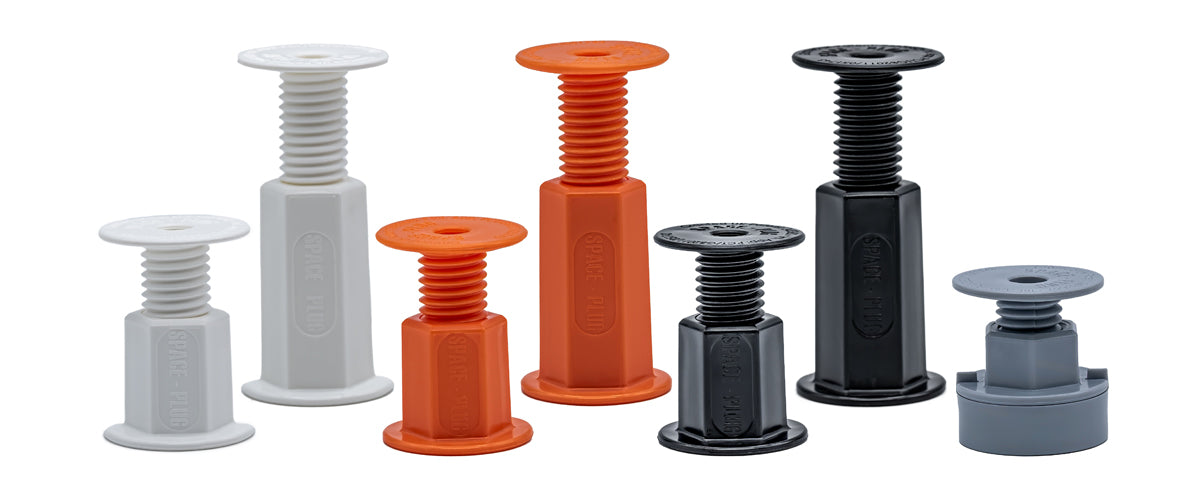
Los Datum Pegs, utilizados junto con las fijaciones con separador regulable Space-Plug, ofrecen una solución precisa y eficiente para la instalación de muebles de cocina. A este sistema lo llamamos Space-Plug Evolution.
Este sistema garantiza una separación uniforme entre los muebles y la pared para el paso de las instalaciones, elimina la necesidad de realizar cortes y ajustes a medida y permite una fijación rápida y segura a la pared.
Esta guía te mostrará paso a paso cómo realizar correctamente la instalación para conseguir resultados más rápidos, precisos y profesionales.






Space-Plug has launched a new national installer survey aimed at giving tradespeople a stronger voice within the kitchen installation industry. The campaign, titled “Your Voice Matters”, is part of the...

Join Space-Plug and KitchenLink on Stand 4D50 for a special Meet the Inventor session with Cliff Petit at InstallerSHOW 2026. Visitors to InstallerSHOW 2026 will have the opportunity to meet...

¡Ya disponibles en Amazon.com! KCI Tools distribuye y gestiona los pedidos de los packs de 25 unidades de Space-Plug Mini, Regular y XL en Estados Unidos y Canadá. En Space-Plug...

Métodos modernos para fijar muebles de cocina de forma segura Fijar los muebles de cocina de forma segura es una de las partes más importantes de cualquier instalación. Una fijación...

Puedes comprar nuestros productos Space-Plug a través de todos estos distribuidores.

Los productos Space-Plug se venden en todo el mundo. ¿Te gustaría ser nuestro próximo distribuidor?